
What Happens Between Landing and the Exit Door
Most travellers know a long-haul flight ends with a taxi to the gate - what follows is less universally understood. International arrivals are governed by a fixed sequence that every passenger must complete in order, regardless of citizenship, loyalty status, or how light they're travelling. Skipping a stage isn't an option; the airport layout enforces the order for you.
The general sequence is: disembark → immigration (passport control) → baggage claim → customs declaration → exit. Some airports insert an agricultural inspection between customs and exit. A small number of countries allow pre-clearance at origin airports (US Customs and Border Protection operates pre-clearance facilities at select international airports), which reorganises this sequence entirely. Unless you've pre-cleared, expect the standard flow described here.
If your international flight involves a connection at another airport, the rules change. Inter-terminal transfer logistics matter more than most travellers anticipate - particularly when re-entry into a secured area, re-security screening, or terminal changes are involved.
What you will need
Stage-by-Stage Walkthrough
Follow each stage in order. The steps below apply to arriving as a foreign national or returning citizen at a standard international gateway airport.
Disembark and Follow Arrivals Signage
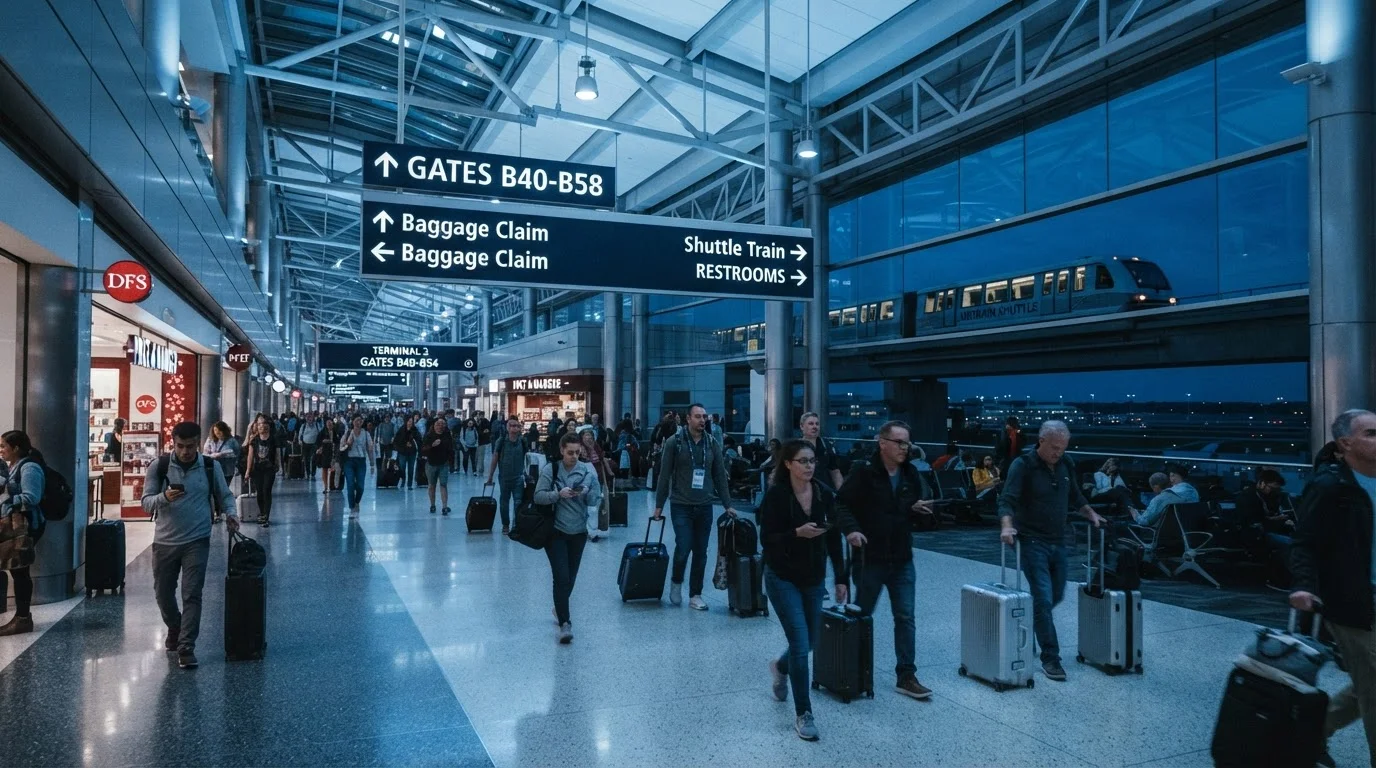
After the aircraft doors open, follow overhead signs for Arrivals or Immigration - do not follow signs for Departures, Connections, or Gates unless you are transiting without clearing immigration. At large airports, understanding how terminals and concourses connect helps you orient quickly. Keep your passport and arrival documents accessible during the walk - queues can begin before you reach the formal hall.
Queue for Immigration (Passport Control)
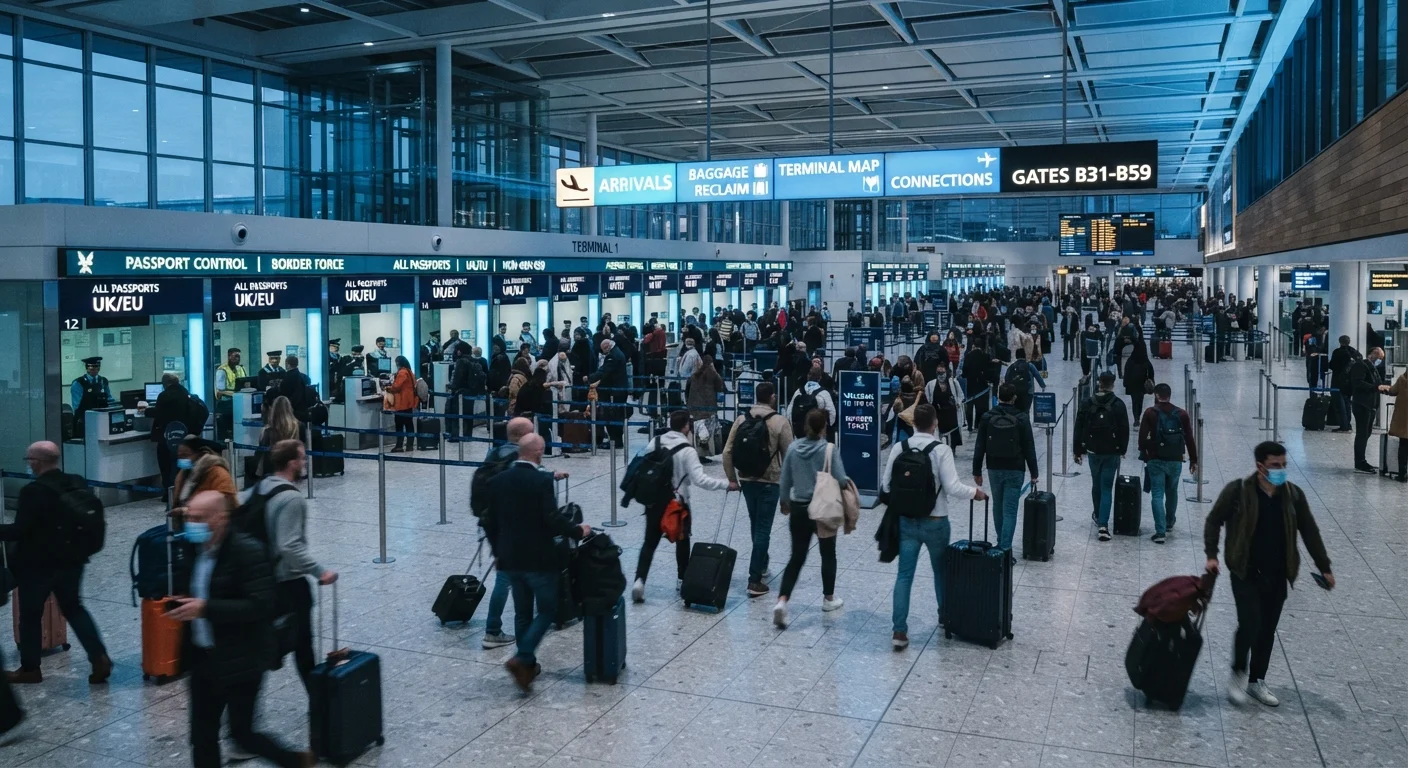
Lanes are typically divided by citizenship: nationals/residents in one set, foreign visitors in another. Join the correct queue. When called forward, approach the booth alone unless travelling with minor children. Present your passport open to the photo page. The officer may ask about your purpose of visit, intended length of stay, and accommodation address - answer concisely and honestly. Do not volunteer unsolicited information, but do not withhold relevant facts.
If you are a US citizen enrolled in Global Entry, look for dedicated kiosks before the staffed booths. The kiosk completes biometric verification and generates a transaction slip that you hand to a CBP officer at the exit of the kiosk area - it does not bypass immigration entirely, but it reduces wait time substantially.
Proceed to Baggage Claim
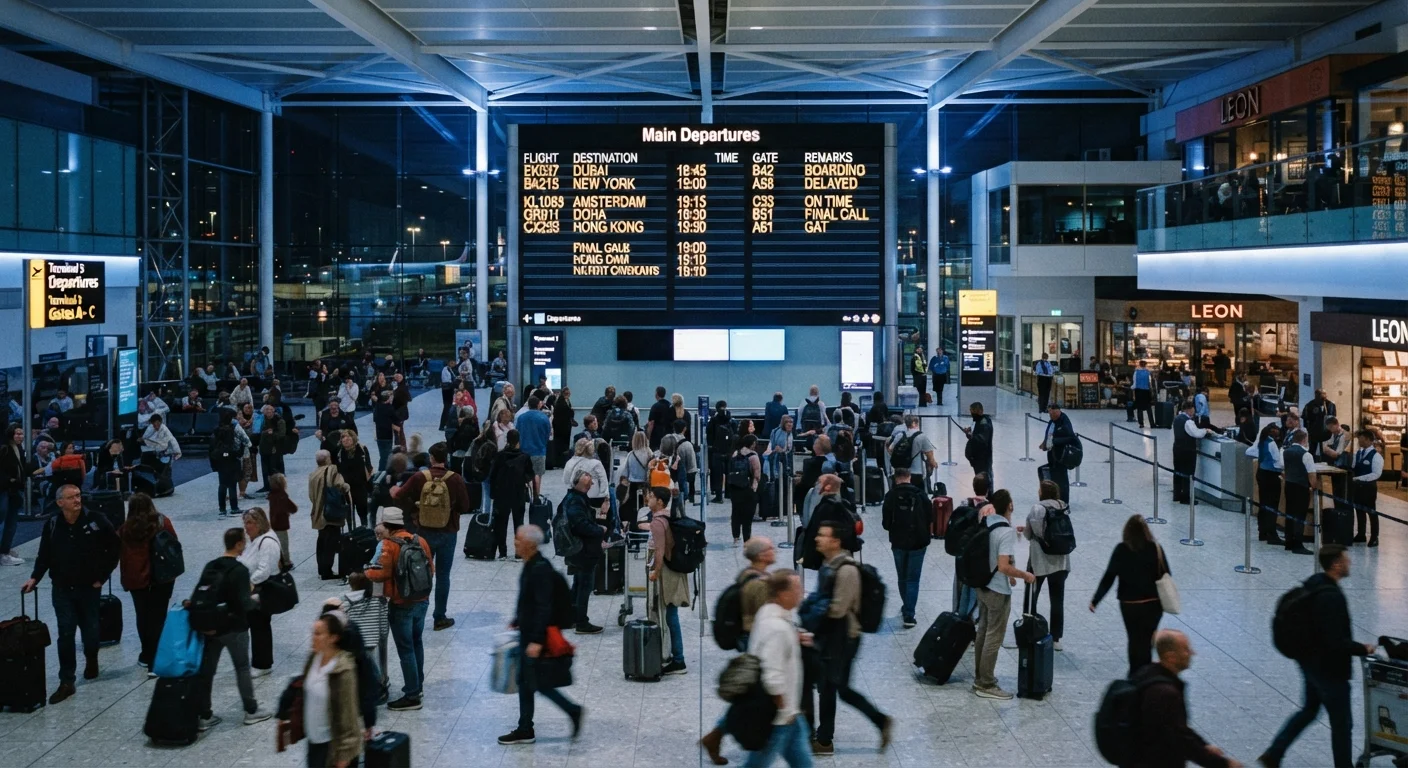
Immigration exits feed directly into the baggage claim hall. Check the overhead flight information displays - carousel assignments are posted by flight number and are confirmed after landing, not before. Locate your carousel, then position yourself with enough clearance to see arriving bags without crowding the belt. If your bag does not appear after all other bags from your flight have been collected, locate the airline's baggage services desk within the arrivals hall before exiting. File a delayed baggage report on the spot with your boarding pass and baggage receipt tag.
Complete Your Customs Declaration
With bags collected, proceed to customs. Every arriving passenger must declare - even if you have nothing to declare. At paper-form airports, hand your completed form to the customs officer. At kiosk-equipped airports (increasingly common), you may complete the declaration digitally and present a printed or digital receipt. Officers may direct you to a green channel (nothing to declare) or red channel (goods to declare). Follow the direction given; do not self-select into the wrong channel.
Common declarable items include: currency above the threshold (USD 10,000 or equivalent for US residents entering the US), commercial quantities of goods, tobacco and alcohol above duty-free limits, food, plants, and animal products. When uncertain, declare - customs officers can clear an item; they cannot undo an undisclosed one.
Clear Any Agricultural or Final Checks and Exit
Some countries route all arriving passengers through an agricultural inspection after customs, where bags may be X-rayed or searched for food, plants, seeds, or soil. Australia and New Zealand, for example, operate particularly thorough screening at this stage. Dispose of any restricted food items in the amnesty bins provided before reaching the inspection point - penalties for non-compliance are significant. Once cleared, you exit into the public arrivals hall.
Use Kiosks and Digital Forms Where Available
Many countries now offer automated declaration kiosks or mobile arrival apps that reduce paper handling and officer interaction time. Check whether your destination offers a pre-arrival digital form - completing it before your flight lands moves you through the hall faster. Examples include the US CBP One context for certain traveller categories and the UK's Electronic Travel Authorisation system.
Practical Considerations Before You Fly
Arriving prepared shortens every stage. Your pre-departure checklist should include verifying visa and entry requirements, confirming that your passport is valid for the required period beyond your intended stay (many countries require at least six months of remaining validity), and completing any advance digital arrival forms the destination country mandates - several nations now require these before boarding.
For those new to the full scope of international trip logistics, a structured introduction to booking international travel covers the document and planning layer that makes the arrivals process smoother.
Never Misrepresent Information to an Immigration Officer
Providing false information to a border official - about your purpose of visit, items you are carrying, or your intended activities - is a serious legal matter in virtually every jurisdiction and can result in immediate denial of entry, deportation, or criminal charges. If you are unsure how to answer a question, ask for clarification rather than guessing or omitting facts.
Customs Allowances Vary - Don't Assume
Duty-free allowances for alcohol, tobacco, currency, and commercial goods differ significantly between countries and can change without wide publicity. The allowances that apply when entering the US do not automatically apply when entering another country. Check the official customs authority website for your destination before packing items that could be restricted.
Entry requirements, visa conditions, customs allowances, and agricultural restrictions vary by country and are subject to change. Always verify current requirements with the official government immigration authority of your destination country and consult your home country's foreign affairs travel advisory before departing.